Get Marketing Insights First
Subscribe to receive actionable strategies, growth tips, and industry insights delivered straight to your inbox.

After wrecking three cosplay helmets and a shelf of miniature bases, I can give you the honest answer to how to smooth 3D printed plastic: sanding alone is a dead end, because every ridge you flatten uncovers another perimeter sitting just behind it. Real smoothness comes from filling, priming, and sanding in repeated cycles, or from a solvent or thermal treatment that softens the surface itself. Which route stays open depends on the 3D printer plastic you loaded.
Every fused-deposition layer begins as a squashed bead of molten polymer pushed out of a round nozzle. Because that bead is round, it cools into a semi-circular ridge, and stacking thousands of them produces the scalloped texture your fingernail catches on. Layer height, extrusion width, flow calibration, and cooling settings all change how deep those valleys cut into the finished surface.
This is why sanding behaves so strangely on printed parts. A printed wall is not one solid face but dozens of bonded perimeters, so grinding a ridge down simply exposes the next layer hiding behind it. Anyone who sands for twenty minutes and sees no progress has hit exactly this wall. Understanding that stacked structure makes every later step make sense.
Material choice decides your options before you touch a single tool. PLA sands easily but softens near 60°C and clogs paper fast. PETG cuts cleaner and shrugs off most solvents. ABS and ASA dissolve in acetone, which unlocks vapor smoothing no abrasive can match. Filled and blend filaments hide lines better but respond unpredictably to heat.
| Material | Dry sanding | Solvent smoothing | Heat smoothing | Practical route |
|---|---|---|---|---|
| PLA | Easy, clogs paper | None reliable | Works, risks rounding | Sand, filler, primer |
| PETG | Clean cuts, tough | Very resistant | Possible, sags easily | Sand plus high-build primer |
| ABS | Good | Excellent with acetone | Good | Vapor smoothing or sanding |
| ASA | Good | Excellent with acetone | Good | Vapor smoothing, UV stable |
| TPU and flexibles | Poor, tears | None | Warps fast | Avoid smoothing entirely |
| Carbon-filled blends | Uneven, dusty | None | Uneven melt | Light sand, thin coating |
I start every smoothing job with 80 or 120 grit wrapped around a firm block, and I stop the moment the shiny tops of the ridges disappear. That first pass exists to knock down high spots, not to create a finish. Then I step to 220, 320, and eventually wet paper at 600 or finer.
The mistake I see most often is jumping straight to fine paper. A 400-grit sheet glides across the valleys without ever reaching them, so you polish the peaks and leave the grooves intact. Working one grit at a time in the sequence below removes lines predictably and keeps edges crisp instead of rounded.
| Grit | Stage | What it does | Watch out for |
|---|---|---|---|
| 80-120 | Dry knock-down | Flattens ridge peaks | Over-sanding thin walls |
| 180-220 | Dry or damp | Levels putty and primer | Clogged paper, swirl marks |
| 320-400 | Dry or damp | Erases coarse scratches | Skipping steps too fast |
| 600-800 | Wet | Pre-paint refinement | Rubbing through primer |
| 1000-2500 | Wet | Gloss prep and blending | Rounding crisp panel lines |
Wet sanding is where a print finally stops looking printed. I soak the paper for ten minutes, add a drop of dish soap to the water, and work in small circles with almost no pressure. Water carries dust away and stops the sheet from loading up, which matters enormously once you pass 800 grit.
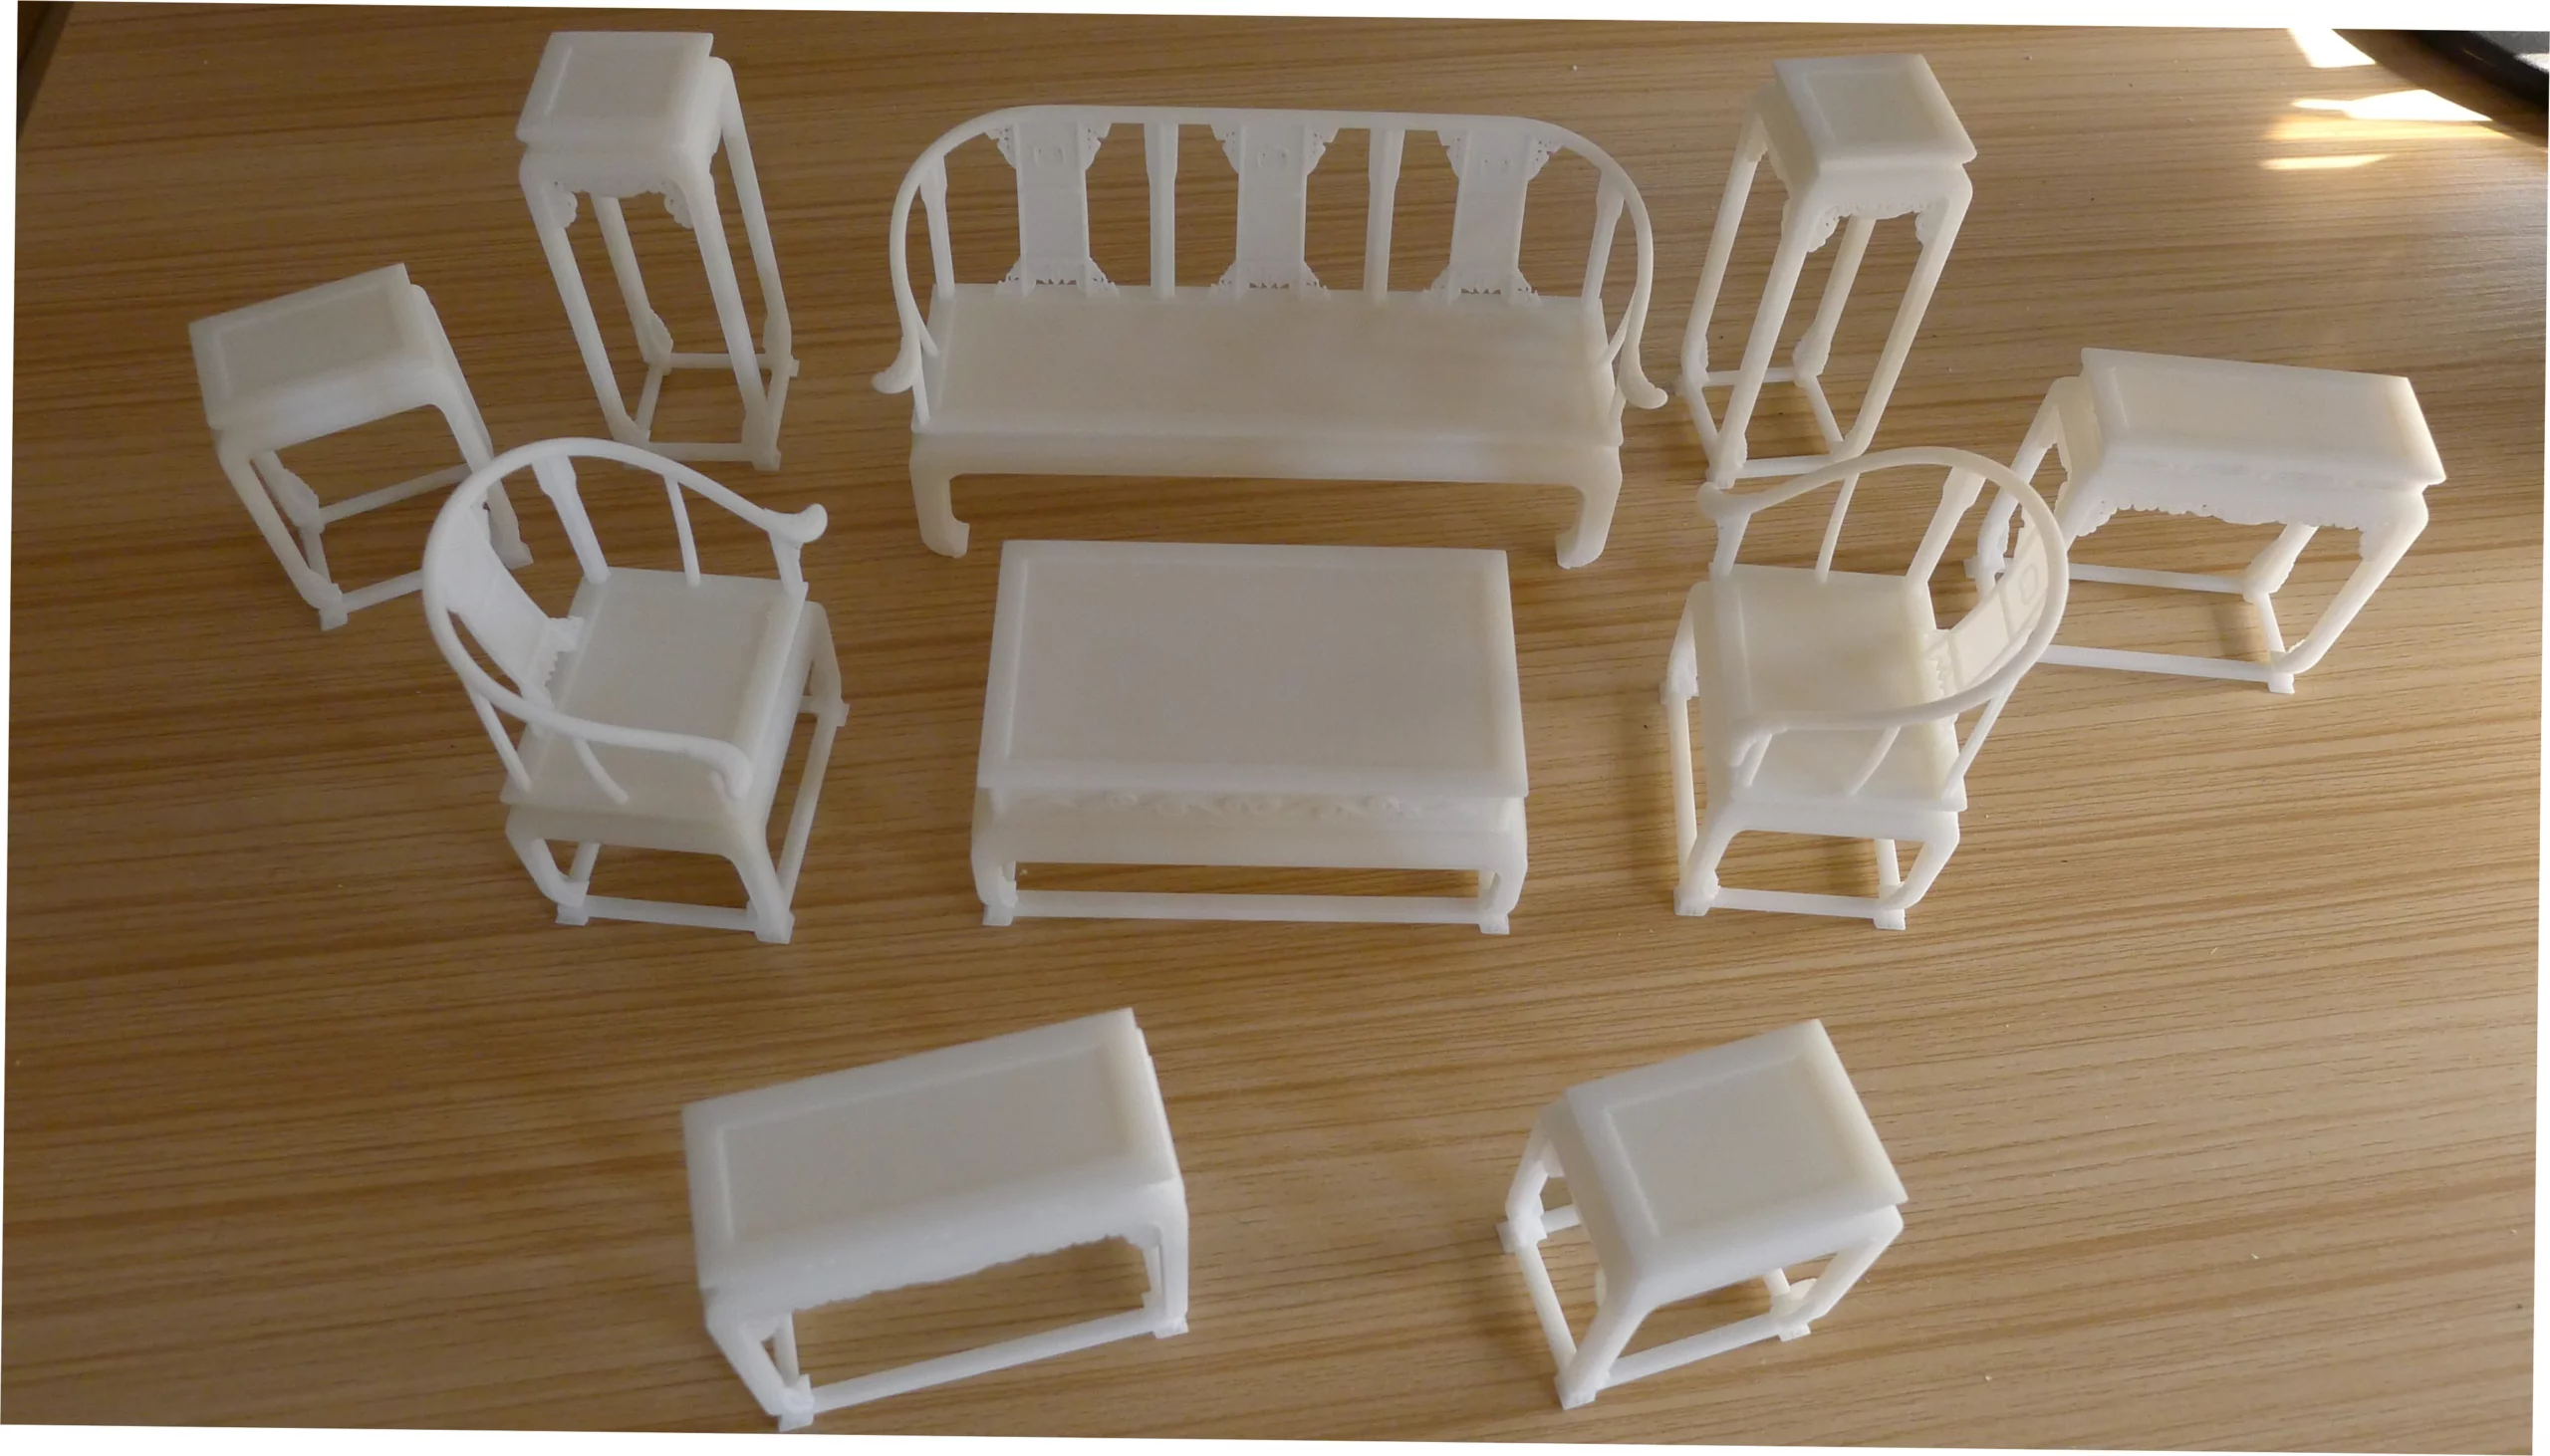
Fingers cannot reach inside a helmet vent or the gap between two armor plates. Printed sanding sticks in several profiles, needle files, and thin sponge pads do that job properly. If you use a rotary tool, keep the speed low and keep it moving, because friction heats PLA fast enough to smear the surface instead of cutting it.
For ABS and ASA, vapor smoothing delivers a finish abrasives cannot reach. I line a sealed container with paper towel dampened with acetone, set the part on a raised platform so it never touches the liquid, and close the lid. Twenty to forty minutes softens the outer skin into a glossy surface, while longer exposures blur sharp corners permanently.
PLA effectively ignores acetone, so people reach for heat instead. A heat gun passed over a print in short bursts melts the outer layer just enough to flatten ridges, and it works well on simple shapes. The risk is genuine: linger in one spot and faces, text, and thin walls round over for good.
The trick I keep returning to is brushing solvent-weld cement onto the surface. It briefly dissolves the plastic, letting the material reflow into a smoother skin without abrading it. Ventilation, nitrile gloves, and eye protection remain non-negotiable, and it will not repair deep gaps where whole layers were skipped.
Self-leveling epoxy coatings cover layer lines in one application and add mechanical strength, which is why prop makers swear by them. Mix ratio matters, pot life is short, and full cure takes a day or two. Brushing thin coats while rotating the part prevents drips. Shops handling plastic and polymer 3D printing often finish parts this way for clients who never want to touch sandpaper.
| Method | Speed | Cost | Detail retention | Main risk |
|---|---|---|---|---|
| Dry and wet sanding | Slow | Low | High | Sanding through edges |
| Filler plus primer cycles | Slowest | Medium | High | Uneven low spots |
| Acetone vapor (ABS, ASA) | Fast | Low | Medium | Sagging, brittleness |
| Heat gun (PLA) | Very fast | Low | Low | Rounded detail, warping |
| Solvent-weld cement | Fast | Low | Medium | Fumes, uneven reflow |
| Epoxy resin coating | Medium | High | High | Drips, thick edges |
| Smaller layer height | Slow print | Free at print time | Highest | Still visible under gloss |
Two-part glazing putty is the workhorse of this stage. I spread it thin over the worst ridges with a flexible card, let it cure for twenty to thirty minutes, then sand back until only the valleys remain filled. Thick single coats shrink, crack, and waste an evening. Cheap wood filler thinned with water covers large flat panels reasonably well.
Filler primer converts invisible low spots into obvious grey patches, which is exactly what you want to see. I spray two thin coats, let them flash off, sand with 320, then inspect under a raking light. Three or four rounds are normal before a big part reads as flat, and rushing that loop is how swirl marks survive into the topcoat.
Once putty and primer are on the part, the original filament color is gone, so a topcoat is no longer optional. That suits props and display pieces, and less so functional brackets where color was chosen deliberately. Paint also magnifies rather than hides texture, so the surface must be correct before any color goes down.
Thin walls lose strength when you grind them, and it is easy to sand through a one-millimeter shell before noticing. Heat tools shrink and warp parts that were dimensionally accurate. Solvent fumes demand ventilation, cured resin dust demands a mask, and the leftover sludge deserves a thought before it hits the bin, which is where questions about recyclable 3D printer plastic become genuinely practical.
Nobody warns you that a flawless finish often costs more in consumables than the filament did. Sandpaper, putty, primer, resin, gloves, and paint add up quickly before you count a single hour. On a large helmet, a realistic timeline runs into dozens of evenings. For small functional prints, that trade rarely makes sense.
| Common expectation | Real-world experience |
|---|---|
| Sand the lines away and you are done | New ridges keep appearing; filling is what actually removes them |
| One coat of primer is enough | Most parts need three or four prime-and-sand cycles |
| Chemical smoothing is a shortcut | Fast surface melt, but detail loss, brittleness, and long cure times |
| A thinner layer height solves everything | 0.08-0.12mm still shows texture under gloss, and printing takes far longer |
| Smoothing is a cheap upgrade | Consumables frequently outspend the filament itself |
| Only big showpieces deserve the effort | Small parts brushed with UV resin are often quicker than sanding them |
The cheapest smoothing decision happens in the slicer. If a part will be painted, I print it at 0.12 to 0.16mm layers, orient the most visible face upward where geometry allows, and accept the longer build. That reduces ridge depth before any abrasive touches the plastic. For prototypes, 0.2mm plus a quick primer coat is plenty.
Ask what the part has to survive. A camera bracket needs strength and fit, not a mirror sheen. A display prop gets judged at arm’s length under stage lighting. I stop sanding when a fingernail dragged across the surface catches on nothing and light stops breaking across ridges. That single test has saved me more evenings than any tutorial.
Sometimes yes. Self-leveling epoxy coatings, brush-on solvent cement, acetone vapor on ABS or ASA, and quick heat passes can all flatten ridges with no abrasive involved. The catch is coverage: coatings and vapors struggle inside tight internal geometry and around deep recesses, where sanding sticks and needle files remain the only realistic option.
Not in any practical sense. PLA resists acetone well enough that vapor chambers leave the surface mostly unchanged. Solvent smoothing is really an ABS and ASA technique. For PLA, heat passes, solvent-weld cement, filler priming, or simply printing at a finer layer height will get you much further than dunking parts in a chemical bath.
It can, and that is the most common regret. Coarse abrasives round crisp edges, while vapor and heat methods blur shallow engraving faster than they remove layer lines. Thin coatings, short exposures, and masking deep recesses with tape before sanding all protect detail. If a groove matters, cut it back with a needle file afterward.
Three or four is typical for a helmet-sized part printed at 0.2mm layers. Each cycle fills the remaining valleys, then reveals new low spots under raking light. Parts printed at 0.12mm often settle in two or three rounds. If you are still seeing texture after five cycles, your layer height or extrusion calibration is the real problem.
Usually yes on visible surfaces, because paint magnifies texture instead of concealing it. Gloss topcoats are the least forgiving, while matte and textured finishes forgive more. If the layer lines are an intentional design choice, skip the whole process and paint directly over the print for a deliberately constructed look.
Sometimes that is the smarter trade. Dropping from 0.2mm to 0.12mm triples print time in some cases but removes most of the prep work. Even then, fused-deposition surfaces retain faint stair-stepping that becomes obvious under gloss, so a light sand and one primer coat usually still follow. Resin printing remains the cleaner option for tiny detailed parts.
Sand down the ridges with 120 grit, fill the valleys with water-thinned wood filler or spot putty, then run two or three cycles of rattle-can filler primer and 320-grit sanding. That combination costs very little and handles most props and prototypes. Skip expensive resins and vapor setups unless the part genuinely demands them.